Customizing Your Icing
Color Variations
When incorporating food coloring into your icing, reduce the amount of milk slightly. Most liquid food colorings contain water, which will thin your icing. If you’re using gel-based food coloring (which is more concentrated and doesn’t add extra liquid), you can maintain your original milk quantity. For the truest color representation, it’s best to add coloring before storing your icing, as colors often deepen and settle over time.
Flavor Enhancements
Transform your basic icing by adding different extracts. A few drops of vanilla extract create a classic flavor, while almond extract offers a sophisticated twist. You can also experiment with peppermint, orange, or other flavored extracts to complement your cookie flavors or match seasonal themes.
Adjusting Shine Level
If you prefer an ultra-glossy finish on your cookies, increase the corn syrup while decreasing the milk proportionally. This adjustment will give your cookies that eye-catching, candy-like sheen.
Storage Guidelines
Proper storage ensures your icing stays fresh and usable. You have several effective storage options:
Piping Bags: Transfer your icing directly into disposable or reusable piping bags, then secure the open end with a rubber band or twist tie. This method keeps the icing ready to use and prevents air exposure.
Airtight Containers: Place your icing in food-safe containers with tight-fitting lids. Stored this way in the refrigerator, your icing will remain fresh for up to one week.
Pre-Colored Storage: If you plan to color your icing, consider doing so before storage. Colors often look more vibrant and true after the icing has rested and settled.
Drying and Stacking Your Decorated Cookies
One of the best features of this icing is how beautifully it sets once dry. After decorating, allow your cookies to sit undisturbed at room temperature. The drying process typically takes about 24 hours, though this can vary depending on how thickly you’ve applied the icing and your kitchen’s humidity level.
Once completely dry, the icing creates a firm surface that makes stacking possible. You can safely stack your decorated cookies about three high without damaging the designs. This makes them perfect for packaging, gift-giving, or simply storing multiple batches.
Professional Tips for Best Results
Consistency is Key: Different decorating techniques require different icing consistencies. Outlining needs thicker icing that holds its shape, while flooding requires thinner icing that flows smoothly and self-levels.
Temperature Matters: Your kitchen’s temperature affects how the icing behaves. Warmer environments may require less liquid, while cooler spaces might need slightly more.
Work in Small Batches: If you’re creating multiple colors, divide your icing before coloring. This prevents waste and gives you better control over each shade.
Practice Patience: Allow outlined areas to dry for at least 15-20 minutes before flooding with a thinner consistency. This prevents colors from bleeding together.
Test First: Before decorating all your cookies, test your icing consistency on a single cookie to ensure it flows and sets as desired.
Troubleshooting Common Issues
Icing Too Thick: Add milk or lemon juice one drop at a time, mixing thoroughly between additions.
Icing Too Thin: Gradually incorporate more sifted confectioners’ sugar until you reach the desired consistency.
Lumpy Texture: Always sift your sugar before mixing, and strain the finished icing if necessary.
Dull Finish: Increase the corn syrup ratio for more shine.
Too Sweet: Add an extra drop or two of lemon juice to balance the sweetness.
Why This Recipe Works
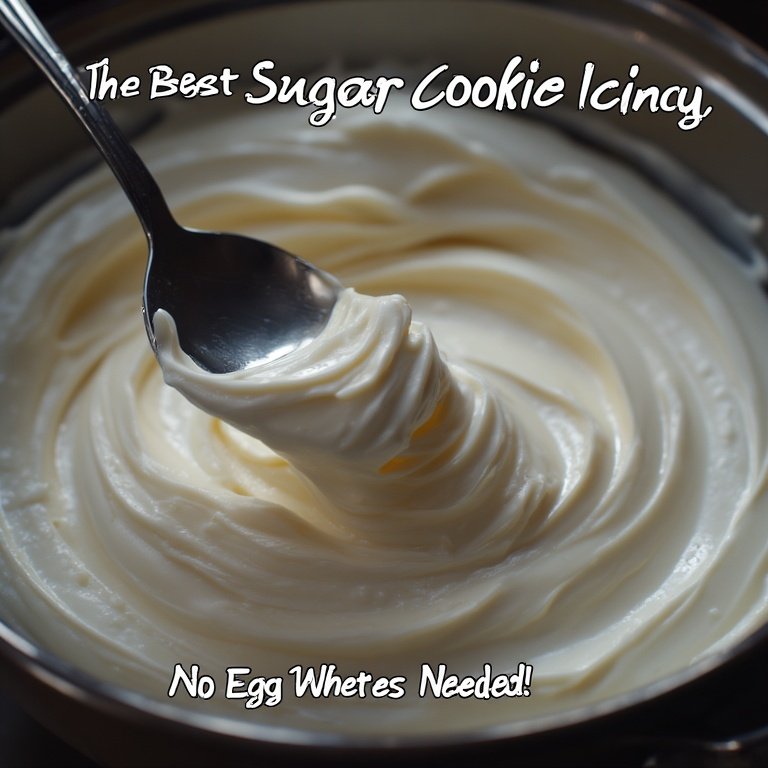
The simplicity of this four-ingredient icing makes it accessible for bakers of all skill levels, while still delivering professional-quality results. The corn syrup creates that bakery-style glossy finish, the milk provides the perfect working consistency, and the touch of lemon juice ensures the sweetness doesn’t become overwhelming. Each ingredient serves a specific purpose, working together to create an icing that’s easy to work with, sets beautifully, and tastes delicious.
Whether you’re decorating holiday cookies with the family, creating themed treats for a party, or simply enjoying a therapeutic afternoon of baking, this reliable icing recipe will help you achieve stunning results every time. The versatility to adjust colors, flavors, and consistency means you’ll never get bored with the possibilities, and your decorated cookies will always look and taste homemade with love.