 Homemade Millionaire’s Caramel Peanut Butter Bites: The Ultimate No-Bake Indulgence

Page 1: Introduction, Overview, and Ingredients
 Introduction: Beyond the Candy Bar
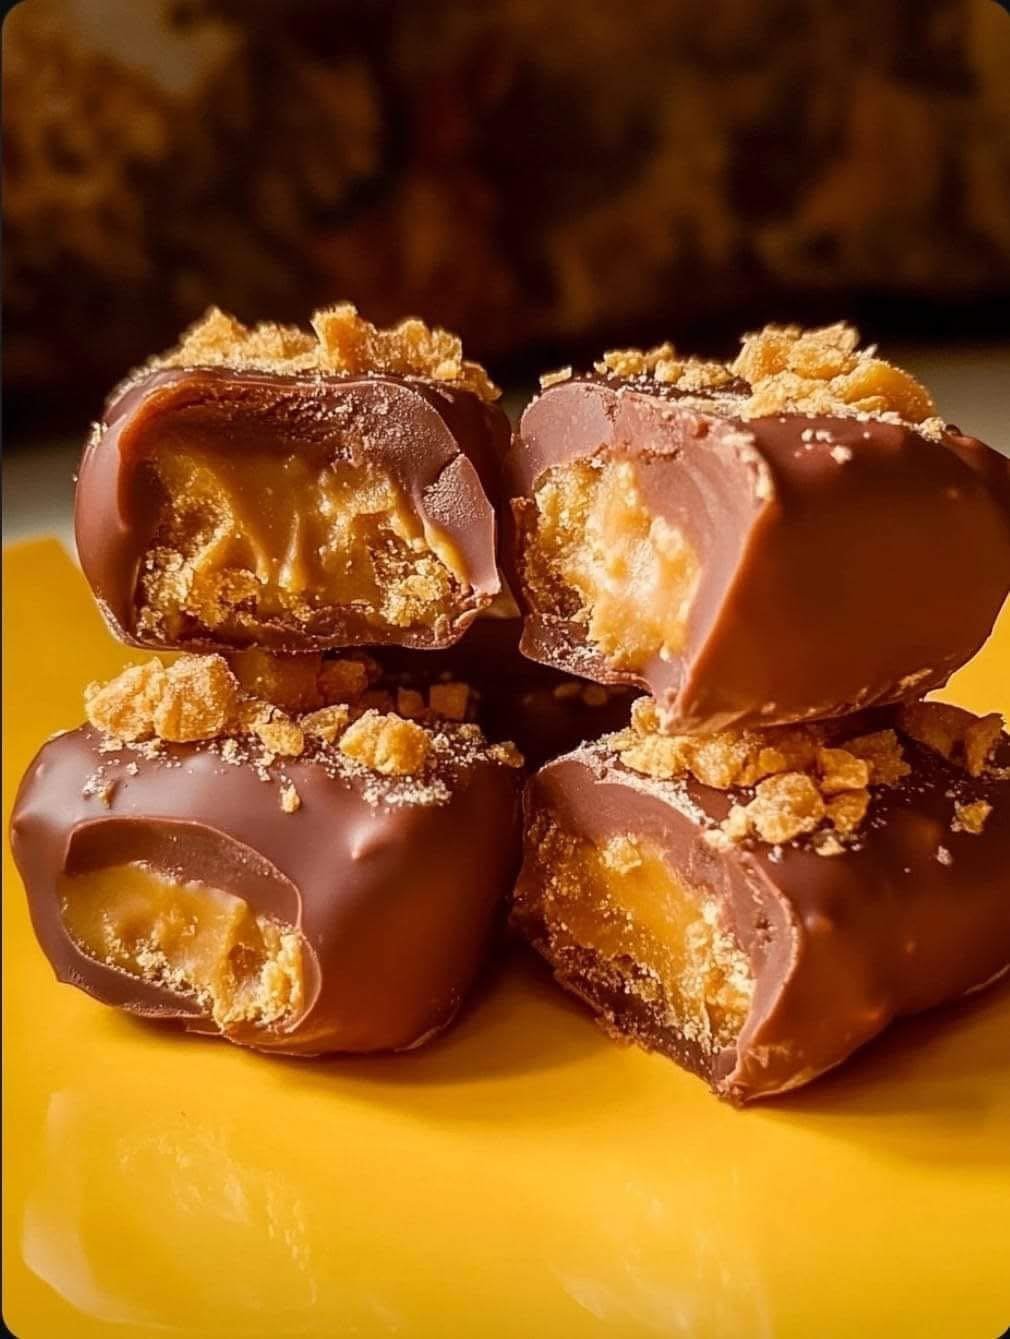
Are you ready to elevate your dessert game to legendary status? Forget store-bought candy bars! This recipe for Homemade Millionaire’s Caramel Peanut Butter Bites is an absolute game-changer. Imagine a rich, creamy, and salty-sweet peanut butter caramel center, encased in a snap-perfect layer of milk chocolate, and topped with a crunch of buttery, caramelized biscuit crumbs. They’re the perfect marriage of a high-end chocolate confection and a comforting, decadent peanut butter cup.
These little beauties are no-bake, meaning they’re surprisingly easy to make, yet they look and taste like they came straight from a gourmet patisserie. They are ideal for holidays, parties, or simply stashing away for a moment of well-deserved indulgence. Get ready for everyone to ask for the recipe—just don’t tell them how simple it was! 
-
Prep Time: 30 minutes

-
Chill Time: 2-3 hours (total)

-
Yields: Approximately 16-20 bites
 Why This Recipe Rocks (SEO Keywords: Peanut Butter Caramel, No-Bake Dessert, Homemade Chocolate Bites, Millionaire’s Shortbread, Gourmet Candy)
-
Gourmet Appeal: Looks and tastes incredibly luxurious.

-
Customizable: Easily swap out chocolate types (dark, white) or toppings (sea salt, nuts).

-
No Oven Required: Perfect for summer baking or busy schedules.


-
Crowd-Pleaser: Guaranteed to be the first dessert to disappear at any gathering.

 Ingredients You Will Need
To create this triple-layered masterpiece, you’ll need three main sets of ingredients: the Caramel Center, the Chocolate Coating, and the Crunchy Topping.
1. The Rich Peanut Butter Caramel Center 
The heart of the bite! This creamy, firm center is made without a candy thermometer, making it fool-proof.
-
1 cup (250g) Smooth Peanut Butter (use a classic, non-natural, thick variety like Jif or Skippy for best results)

-
1 cup (220g) Powdered Sugar (Icing Sugar), sifted

-
4 Tbsp (56g) Unsalted Butter, melted
-
1/2 cup (120ml) Sweetened Condensed Milk (this is key for the chewiness!)

-
1 tsp Vanilla Extract

-
1/4 tsp Fine Sea Salt (Crucial for balancing the sweetness!)

2. The Luxurious Chocolate Coating
A high-quality chocolate makes all the difference!
-
18 oz (510g) High-Quality Melting Chocolate (Milk Chocolate or a combination of Milk and Semi-Sweet is recommended)
-
Tip: Use chocolate melting wafers or bars designed for tempering/melting for the best results and shine.
-
-
1 Tbsp Coconut Oil or Vegetable Oil (optional, for thinning the chocolate and adding shine)

3. The Crunchy Millionaire’s Topping (Optional, but highly recommended!) 
This topping is the “millionaire’s” twist, adding the buttery crunch of a shortbread/biscuit.
-
1/4 cup Crushed Digestive Biscuits, Graham Crackers, or Vanilla Wafers
-
1 Tbsp Melted Butter
-
1 Tsp Granulated Sugar

Page 2: Step-by-Step Instructions (Making the Caramel Core)
 Step-by-Step Guide: Crafting Your Decadent Bites
Follow these steps carefully to ensure your bites are perfectly formed, firm, and easy to dip!
Part A: Preparing the Peanut Butter Caramel Center
This is the foundation of your treat. It needs to be firm enough to hold its shape when dipped in chocolate.
Step 1: Combine Wet Ingredients 
In a large mixing bowl, combine the melted butter, sweetened condensed milk, peanut butter, vanilla extract, and sea salt. Stir with a wooden spoon or spatula until everything is smoothly incorporated. It will be thick and sticky. 
Step 2: Incorporate the Sugar 
Gradually add the sifted powdered sugar to the mixture. If you add it all at once, it can be messy! Stir until a thick, pliable dough forms. You may need to use your hands for the final mix, similar to a cookie dough. The mixture should be stiff, not wet or overly sticky. If it feels too soft, add another tablespoon or two of powdered sugar until it holds its shape firmly. 
Step 3: Shaping the Bites 
Line a baking sheet with parchment paper or a silicone mat. This step is crucial!
-
Option 1 (The Classic Bite Shape): Roll the mixture into small, oblong, slightly rounded rectangular shapes (like the picture!). Aim for pieces about $1.5 \text{ inches}$ long and $1 \text{ inch}$ wide. This is a classic “candy bar” look.
-
Option 2 (The Simple Ball): Roll the mixture into small, uniform balls.
Step 4: The First Chill 
Place the entire baking sheet with the shaped centers into the freezer for at least 60-90 minutes. They must be rock solid before dipping. This prevents them from collapsing into the warm chocolate. A truly frozen center makes dipping much easier! 

SEE NEXT PAGE